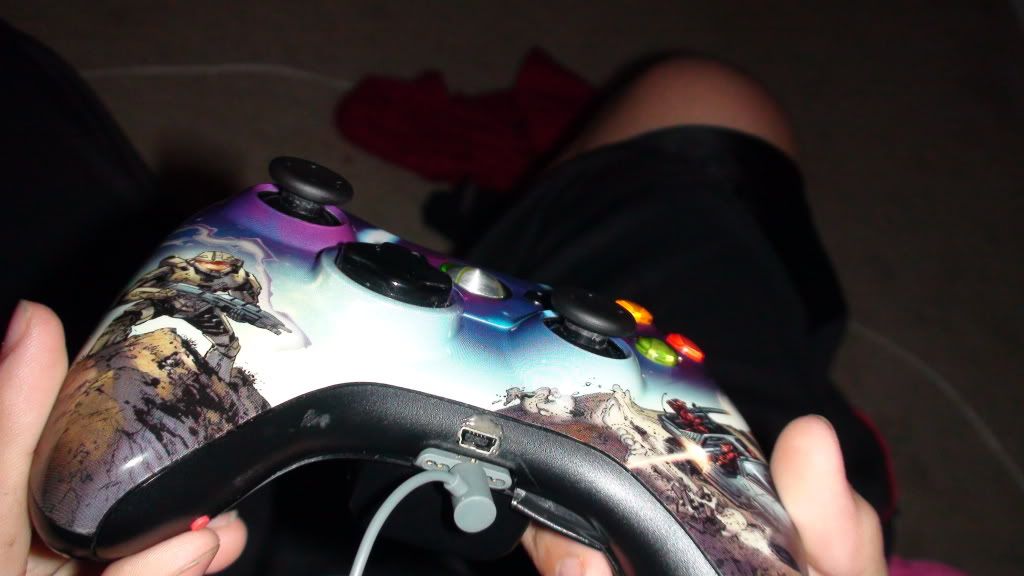
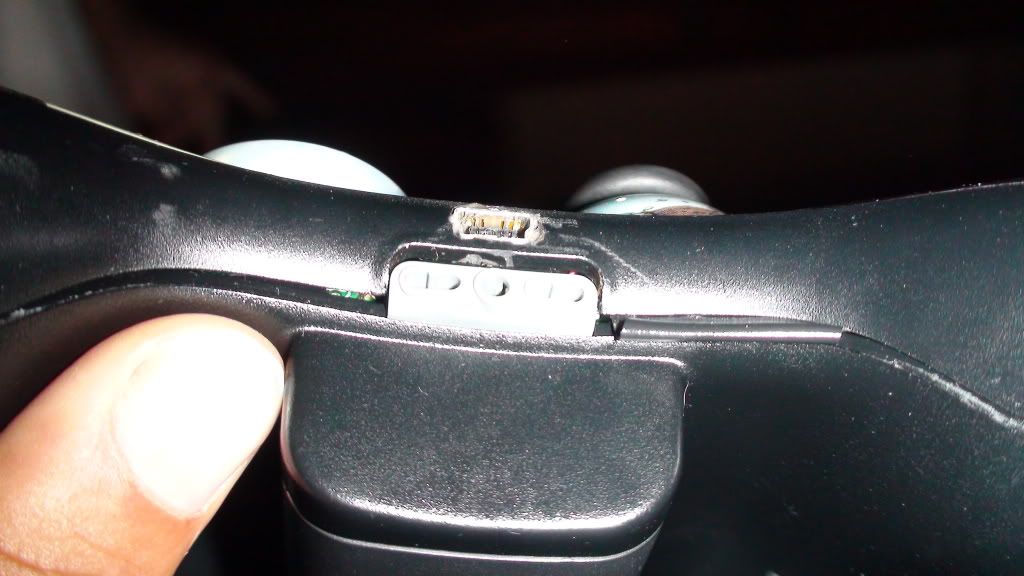
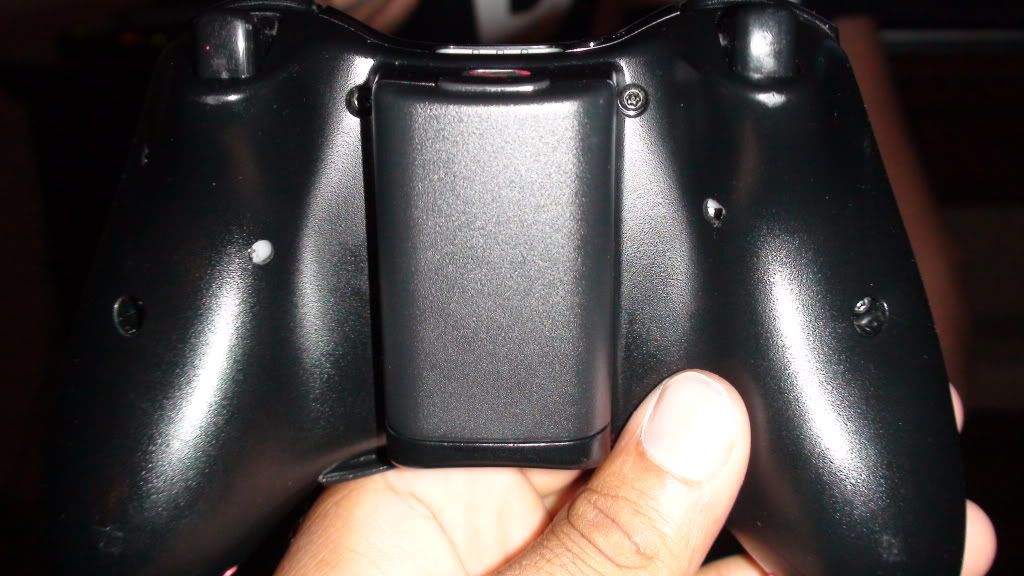
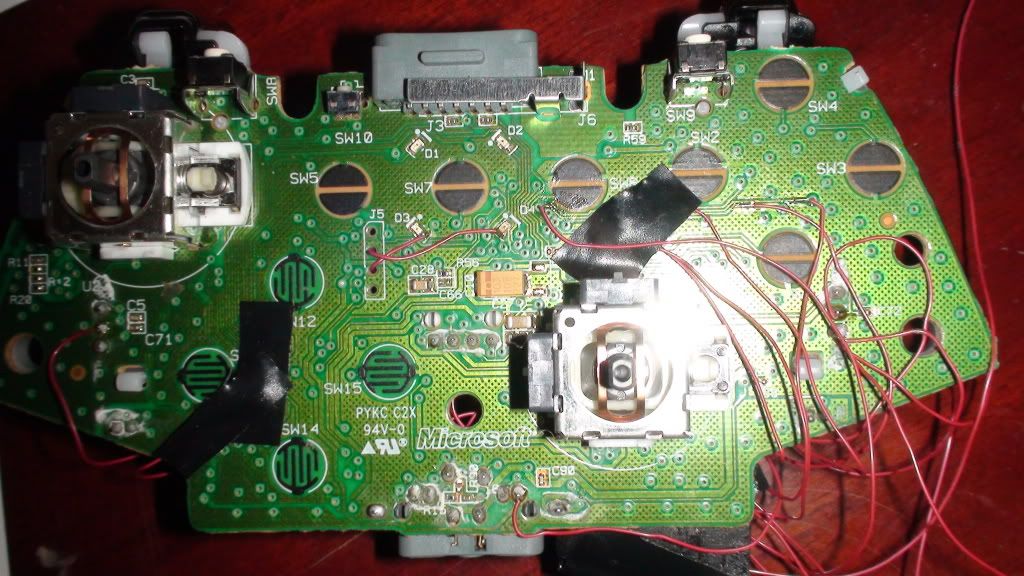
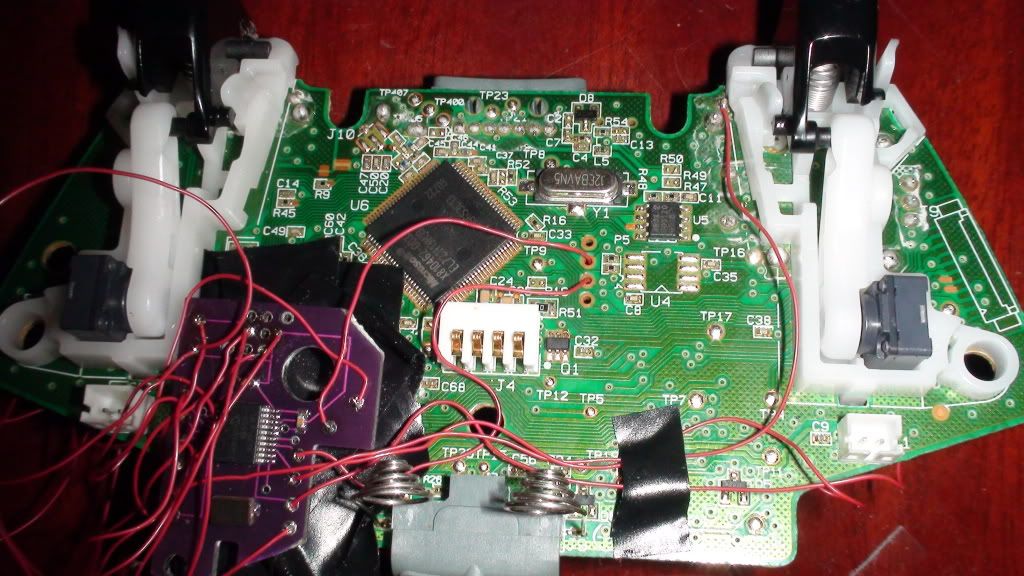
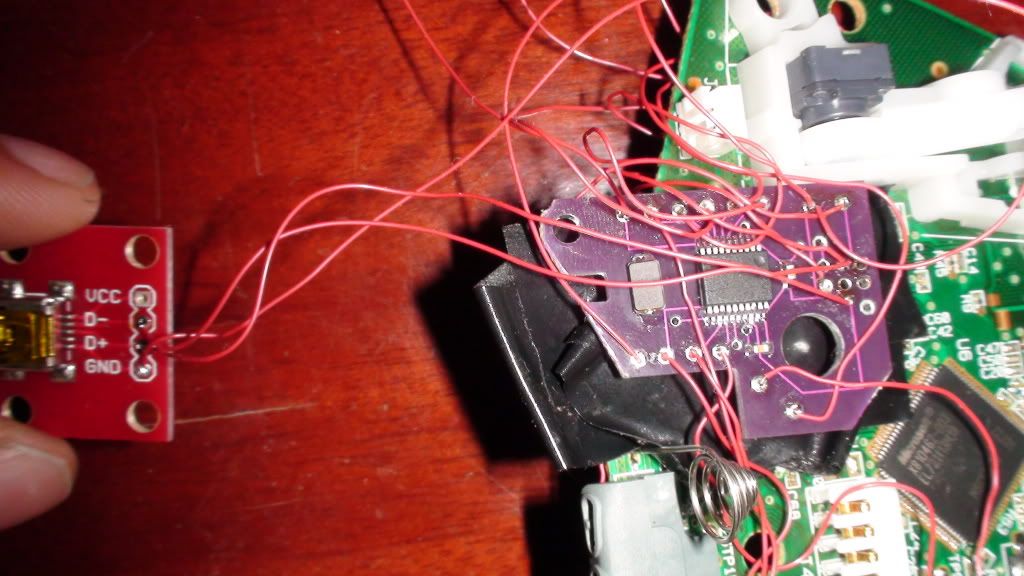
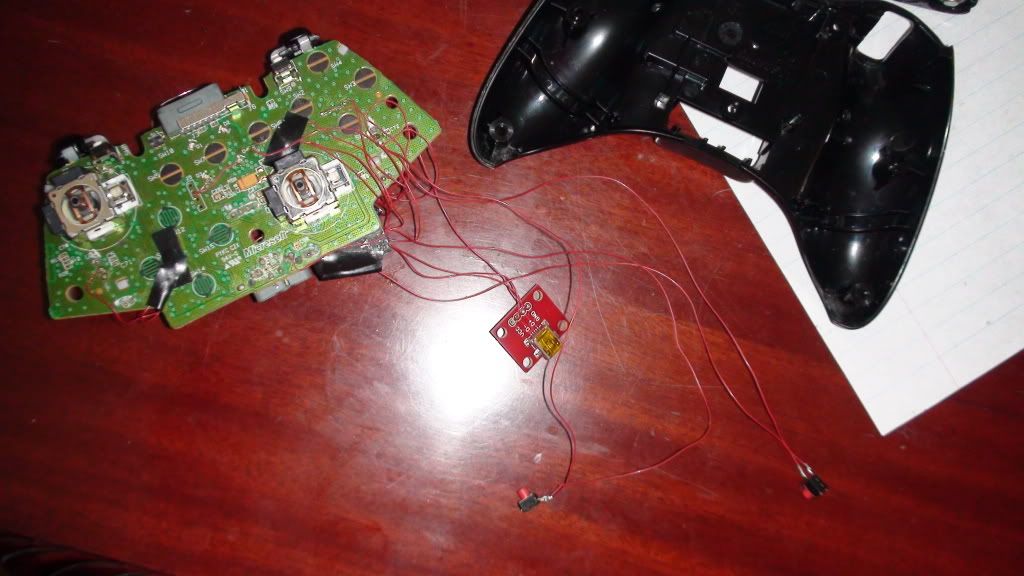
Hi guys here are some pics of my install,
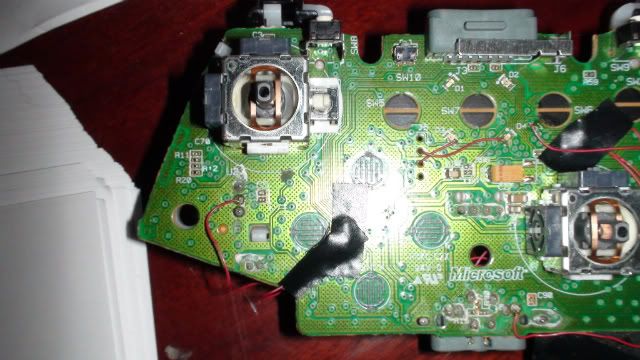
I have a few things/tips to say.
1.This is my first soldering project ever.(and VERY proud if it, if I say so myself)
2.Yes it is possible to use a Radioshack iron for this.( I used 25 watts)
3.I used .015 leaded solder
4.Flux is your BEST friend in soldering (Make sure to wipe of the residue)
5. Having a super clean tip is VERY important
6.Yes I know my wire routing sucks.
7. It took me almost 6 hours to do everything.(Having a fractured wrist didn't help either.)
8.Installing the DUO buttons on the "bottom" of the controller is much easier than mounting it on the "back".
Since if you mount it on the "back" you might have clearance issues with the board, if you drill it in the wrong spot (I did)
9. If you are not patient (and new to soldering), DO NOT attempt this.
10.The $120 install charge for the duo controller, would be COMPLETELY worth it.
11.The mini usb connector is from Sparkfun, Keep in mind DO NOT buy the one with the breakout board (Ckearance issues),
instead purchase just the "connector"
12. Use 5min JB weld to attach the duo buttons to the controller.
13. Use a Dremel, or a Harbor Freight equivalent to "mill" out the mini usb port.
14. Apply LOTS of JB weld to the MINI USB connector, it will have to endure alot of stress when you plug and unplug.
15. When you scratch the traces with an Excato knife, use a Multimeter (on the the continuity setting) to see if you scratched "Deep" enough"
I will post pics of the finished and assembled controller later.

